Sunday, December 28, 2014

New Life

This formerly-odd house has taken on new life. We had our first of many gatherings in our new kitchen and it was well with my soul. I felt hindered by our old kitchen and living areas because the flow was wrong, cooking was an annoying and disastrously messy chore, and dramatic as it may sound I knew a restructure would change how we lived and loved the people around us.

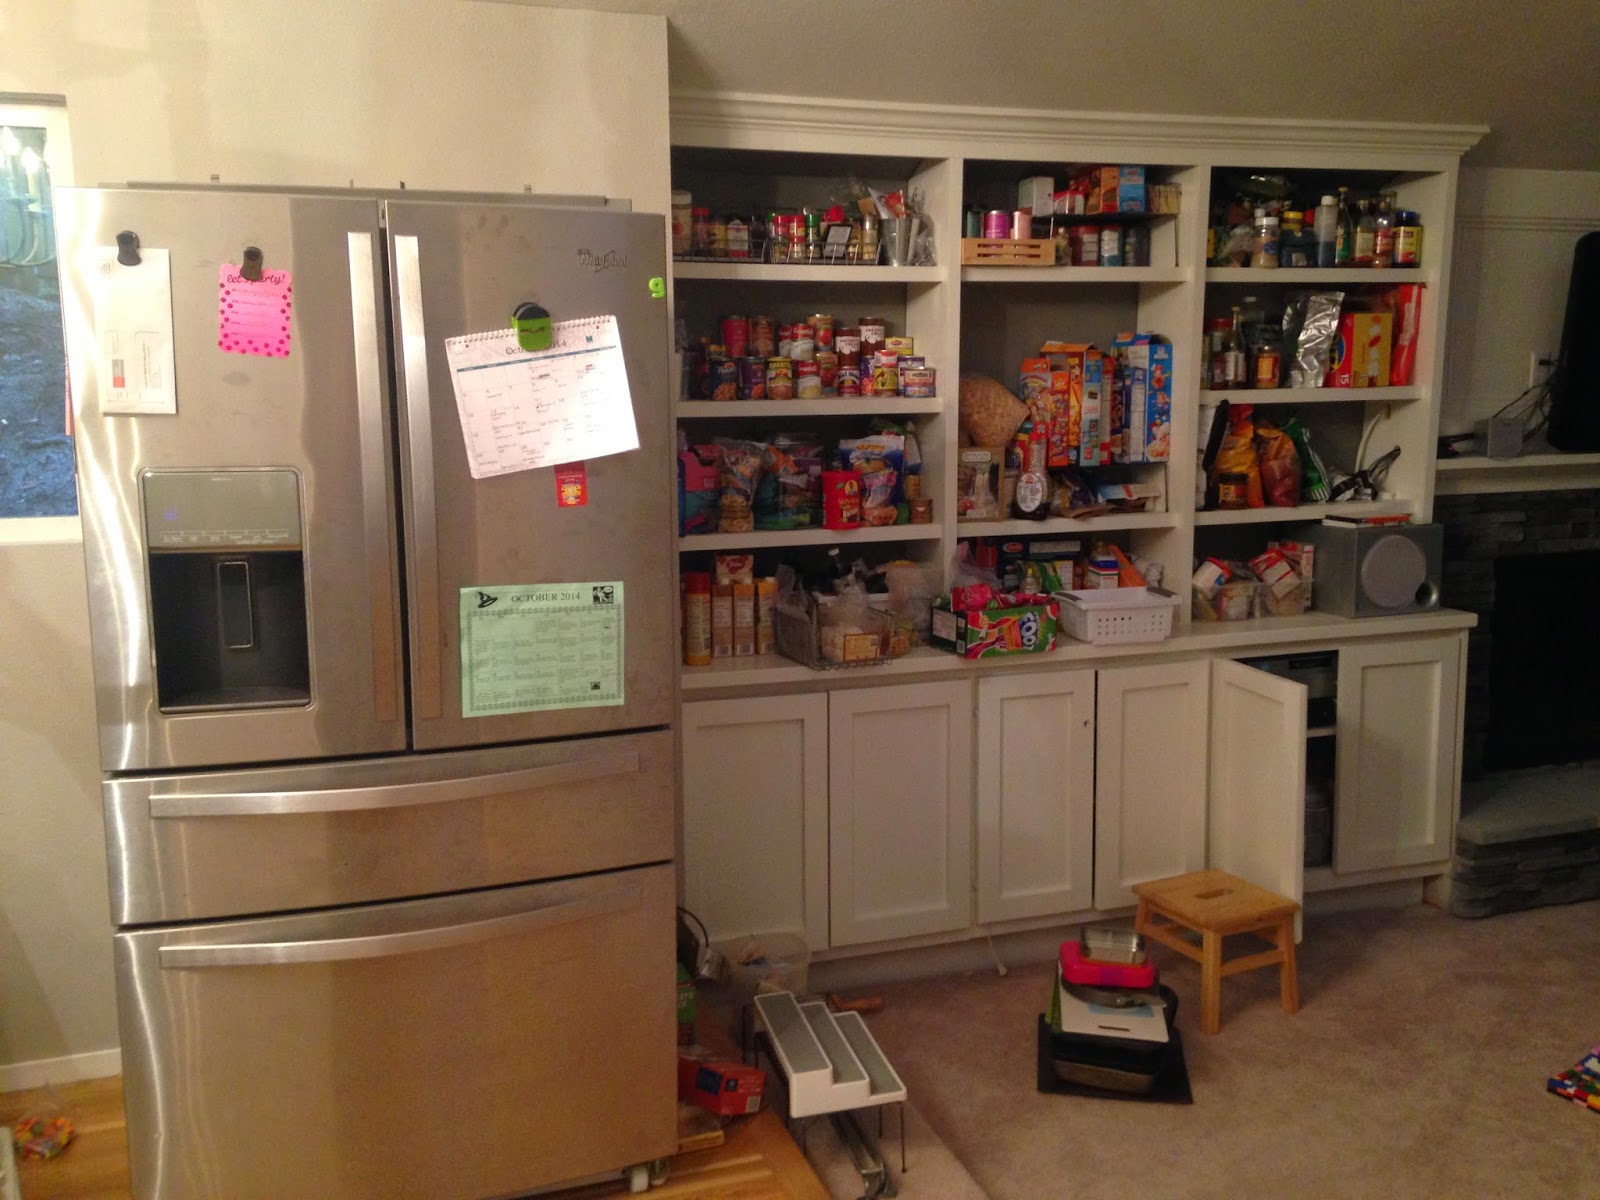
It took a lot of planning, and I'm so glad, due to budget, we had the time to plan. I also need to give credit where credit is due. My beautiful, talented, award-winning [in kitchen design for Teakwood Builders, Inc. in NY] college roommate, Eva Anderson helped me with the design. She helped me not make giant mistakes, thanks to her I have a great layout and enough food storage. Another friend, George Osborne, came up with the brilliant idea to transform the large TV/family room space, shown here,


into the kitchen. At first it seemed radical, but now it feels like "it should have always been this way".

So, without further ado….may I introduce you to our kitchen.

In one of the last posts you didn't get to really see very good before and after pictures of the walls up and the walls down. Before there was a load-bearing all separating the rooms and keeping the house choppy. When the walls came down the house could breathe. The first two pictures are from the same angle as are the second two.


That wall was load bearing, so we had to install a giant beam and two posts. Then Neal and I installed 1200 sq ft of hardwood flooring. Then it was stained and finished, and we were homeless for a week which was crazy and wonderful at the same time. 

Then we went to Hawaii which was the best vacation we've taken, though tough on the budget! Spending freeze happening in 2015. Our cabinets were delivered while we were gone, and because Neal values maximum efficiency, he scheduled the granite template for 11am the morning after we got home. The one minor problem was that our flight got in at 10pm and all of the base cabinets and island had to be installed before 11am. I went to bed at 4am and Neal went to bed at 6:30am. We slept for an hour or two, kept plugging away and finished in time. Welcome home.

This was at like 2am:


In the morning:


Taking shape:


Full-body microwave/oven install:


Almost complete:


Granite install:


Ta-da.


I can't get over how much I love our island.


Some of my other favorite details:

Raw-edge wood shelves on each side of the sink


Herringbone backsplash


A view down the hall where the old kitchen once was.


Here's something else I love. We made this desk space where the old kitchen was. In fact, the old kitchen sink was lined up in the middle of that window, shown here:

 At first these cabinets were white. They were ok, but since the island was gray I knew that these desk cabinets needed to be gray too. Poor Neal. He had such a good attitude painting them for me. The top of the desk matches the kitchen shelves and is also live-edge wood. We still need to sand it down and finish it, but for the most part it will look like it does now:


I'm so thankful for this project. I'm so happy with how it's turned out. This house, and therefore life, has felt crammed, tight, constricted, messy and stressful. I feel like with the open space and new storage my life feels lighter. Is that weird?! Yes, probably. But now, cooking feels fun, doing the dishes feels fun, cleaning the kitchen feels fun, making tea feels fun, coming home feels fun, and not leaving for the entire day and being a hermit in my pajamas and sitting at the counter and looking out at a clean house feels fun. I'm happy and proud. From the moment I stepped into this house a couple of years ago, I knew it was a special house. I knew it could be awesome, and it is. 

Thank you for reading and following along! I don't know how many more times I'll post because we don't have any more projects to do any time soon. Of course, I have a few more wild ideas, but we'll take a long break from projects and enjoy living in our home for now. Thank you for being a part of our journey! 
Love, Rachael and Neal

Wednesday, November 5, 2014

A Tutorial

The best bloggers give helpful DYI tutorials, and even though I'm not a good blogger, I thought I'd be a good idea to step up my game with a helpful and easy DYI tutorial using common items around your house.

In this tutorial I will be teaching you how to channel either your inner hoarder or your inner red neck, so it's great because with minor tweaks you can choose your own adventure!! How exciting.

Let's start here: When all the floors in your entire house, except for the bedrooms, are becoming hardwoods, and in the event that they are getting sanded, stained and finished with highly-toxic chemicals you have to basically move out of your house, and leave nothing on any of the floors that they are finishing. But first when you and your husband are installing them yourself, slowly everything starts to get crammed into different places. The bedrooms have carpet, the bathrooms have tile floors so those rooms are fair game for great storage. Here's how to exercise your hoarding muscles:


Take everything from your hall closet, take drawers from a dresser, take pillows and the cushions from your couch, take the extra leaf for your table, some bins of fabric, all your cleaning supplies and a humidifier and lovingly dump it all into your bedroom. Don't keep it organized, seriously, just dump it. It's way better that way.

After that, move your coffee pot, vanilla syrup and tea kettle into your powder room. Slip more cleaning supplies under the sink for an extra cluttery look. Nothing like making coffee/tea while going potty. No big deal, very red neck.


Then fill a big box with pot and pans, and put that into the powder room as well. The smaller the room the better, makes it way more exciting while making tea/coffee and going potty while not trying to trip over a box. Then add your junk drawer on top for extra measure.


Just when you think you've run out of room for all the junk, I discovered an excellent and creative storage space that can hold LOADS of stuff! Fill 'er up!!!


Need a spatula? Or a toaster? No problem, the bathtub holds it all.

If your kids start to get stressed out and act up with all the change try to just use their bedrooms for storage with one or two key items. Like the coffee table.


Or the microwave.


And then an important part of this tutorial is to have a very "rustic" cook top installed, and go ahead and cook gourmet foods like mac and cheese, frozen stir fry and pancakes. Try to do it WHILE the floors are being installed.


But then you have to wash your dishes in the ever-handy powder room, because of course, get your dishwasher and sink ripped out. That's a given.


The last step that's an important one to this tutorial is that when you've lost most of your shoes in your giant, disorganized pile, find any shoes, preferably fancy ones, wear them with socks, and help install some more floors in them. It's not only a good look, it's practical.


But people! BIG changes are coming! And though this has been a stressful week on many levels, I'm SO THANKFUL for my husband. He is a tireless worker, and he does it all for me. I'm so thankful for our house. The chaos is worth it. I'm thankful for my kids who are resilient when I lose my mind. Don't think I've found it yet. I'm thankful for kind, kind people who help me and care for me. Also, a HUGE shout out to THE BEST NEIGHBORS EVER, Sherwin and Mina who should complain about us with the noise, the mess and unsightly front porch, driveway, parking on their side yard (Neal), but never do. Gracious neighbors who are so kind! We are thankful for you!!!


Thursday, October 23, 2014

And so it begins….

My master plan for this weird little house was to open it up. The kitchen was a tiny hall-like, walk-through with minimal storage located in the middle of the house. There was very little counter space. I'd make a simple dinner and it'd look like I was cooking Thanksgiving dinner for 35 people. Let's review. Here's where we started:


Could be worse, but I knew it could definitely be better. My vision was to open it up to have an open floor plan and have "zones" instead of individual rooms. There is a large living room and a large family room on each side of the kitchen:

Terrible picture, I think I was showing the new window on the right, but this is the family room

This is the living room, also a bad picture.

So the thought has been to turn the large family room into the kitchen and tear down the main support walls separating the kitchen from the above living room. So today was the lucky day we chose to tear down the walls. Here are the before pictures from both sides:


Here's the temporary "kitchen" which is in the dining room, pantry in the living room shelves. Makes for good TV watching snack access. 

We could play a fun game of "eye spy". Can you spy the canned food? Cereal? Fruit by the Foot? 


One side of dry wall down to expose the studs so Neal can get a good look at what we're in for.

The dining room gets chopped in half by plastic so our house resembles that scary part in ET when there's plastic all over their house and those guys are in has-mat suits and they try to steal ET away.


Neal builds temporary walls made from studs to support a few different ceilings, roof trusses, etc.

The 20 foot beam I realize that I have a vital role in moving. Thanks to two awesome friend/neighbors we moved the beam inside through the kitchen window because it was too long and the angles were too sharp to get it in through a door.

Neal acted like this was a two-day job. He acted like we were just going to get the beam inside the house, and then we'd recruit all these strong a burly people to help us install it tomorrow. Nope. His secret plan was actually to recruit his burly wife to install a 400 pound beam with him. This was my pre-game-I'm-a-bit-nervous face. The beam is the long thing by my right shoulder. 


Game time. The beam did fall once, and I did carry one end of the beam up a ladder myself. Every penny that is spent on my membership at Tiger Mountain CrossFit is worth it. Who needs burly helpers when you have a wife with muscle?


It was not easy to install. This is the finished picture. There was some swearing, there was pounding with a sledge hammer, there were some tense moments and some panicked moments, but ultimately Neal and I are very proud that our house didn't fall down and that we installed a huge beam ourselves, and that now our house is open. I think that was the trickiest part of the kitchen remodel and house restructuring, hopefully it'll be smooth sailing from here on out...

p.s. those 2x4s will come out tomorrow, I was too excited to wait for a proper "after" picture. More to come.